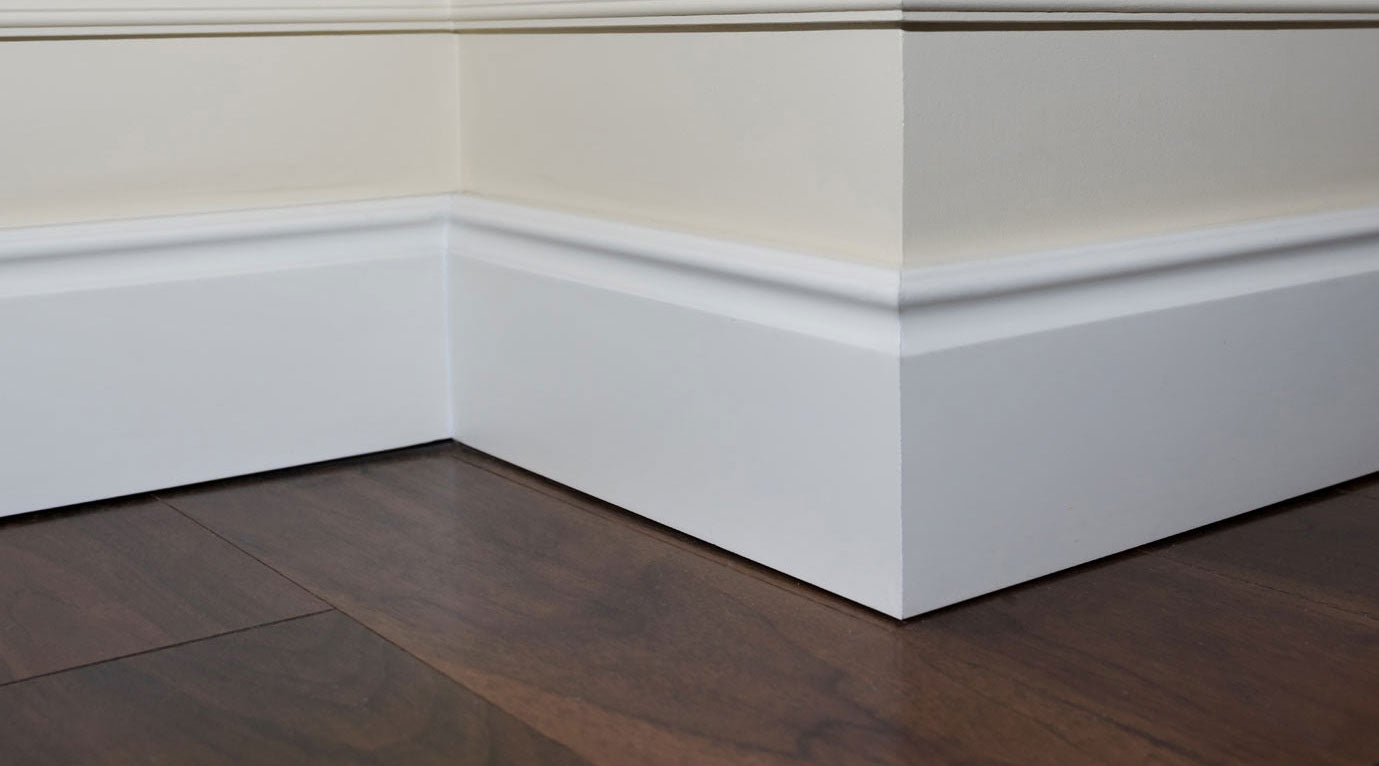
New, Modern Baseboards Add The Finishing Touch
Baseboards are a great way to add a finishing touch to any room. Not only do they add aesthetic value, but they also protect your walls from scuffs and dents caused by furniture and foot traffic. While many people choose to hire a professional to install their baseboards, it is actually a simple task that can be done by anyone with a few basic tools and a bit of patience. In this article, we’ll guide you through the steps to install your own baseboards.
Step 1: Measure the Room
Before you can start installing your baseboards, you need to measure the room to determine how much material you will need. Measure the length of each wall and add them up to get the total length of baseboard required. Remember to factor in a little extra material for corners and cuts.
Step 2: Choose Your Baseboard
Next, you’ll need to choose the baseboard that best suits your style and budget. There are many different types of baseboards available, ranging from simple styles to more ornate designs. Choose a style that complements your existing décor and fits within your budget.
Step 3: Gather Your Tools
To install your baseboards, you will need a few basic tools including a saw, a hammer, nails, a level, and a measuring tape. You may also want to invest in a power nailer to make the process go faster and easier.
Step 4: Prepare the Wall
Before you can install your baseboards, you’ll need to prepare the wall. Start by removing any old baseboards and nails. If the wall is uneven or has gaps, use spackling compound to fill them in and create a smooth surface.
Step 5: Cut the Baseboards
Using your saw, cut your baseboards to the appropriate lengths. Be sure to measure each piece carefully to ensure a proper fit.
Step 6: Install the Baseboards
Starting in one corner of the room, use your hammer or nailer to attach the baseboard to the wall. Be sure to use a level to ensure that the baseboard is straight. Continue attaching the baseboard along the length of the wall, making cuts where necessary to fit around corners and obstacles. You’ll want to nail into as many studs as possible along the length of each board. Repeat the process for each wall in the room.
Step 7: Finish the Job
Once you have installed all of your baseboards, you’ll need to fill in any nail holes with wood filler and sand them smooth. You can then paint or stain your baseboards to match your existing trim.
In conclusion, installing your own baseboards is a simple task that can add a lot of value to your home. By following these easy steps, you can create a professional-looking finish that will protect your walls and enhance the look of your room. So, grab your tools and get started on your next DIY project! Cambridge Crown and Trim has an amazing selection of baseboards to choose from at Better Than Box Store Prices. Shop on-line and pick up or we deliver.